- English
- Chinese
- French
- German
- Portuguese
- Spanish
- Russian
- Japanese
- Korean
- Arabic
- Irish
- Greek
- Turkish
- Italian
- Danish
- Romanian
- Indonesian
- Czech
- Afrikaans
- Swedish
- Polish
- Basque
- Catalan
- Esperanto
- Hindi
- Lao
- Albanian
- Amharic
- Armenian
- Azerbaijani
- Belarusian
- Bengali
- Bosnian
- Bulgarian
- Cebuano
- Chichewa
- Corsican
- Croatian
- Dutch
- Estonian
- Filipino
- Finnish
- Frisian
- Galician
- Georgian
- Gujarati
- Haitian
- Hausa
- Hawaiian
- Hebrew
- Hmong
- Hungarian
- Icelandic
- Igbo
- Javanese
- Kannada
- Kazakh
- Khmer
- Kurdish
- Kyrgyz
- Latin
- Latvian
- Lithuanian
- Luxembou..
- Macedonian
- Malagasy
- Malay
- Malayalam
- Maltese
- Maori
- Marathi
- Mongolian
- Burmese
- Nepali
- Norwegian
- Pashto
- Persian
- Punjabi
- Serbian
- Sesotho
- Sinhala
- Slovak
- Slovenian
- Somali
- Scots Gaelic
- Shona
- Sindhi
- Sundanese
- Swahili
- Tajik
- Tamil
- Telugu
- Thai
- Ukrainian
- Urdu
- Uzbek
- Vietnamese
- Welsh
- Xhosa
- Yiddish
- Yoruba
- Zulu
- Kinyarwanda
- Tatar
- Oriya
- Turkmen
- Uyghur

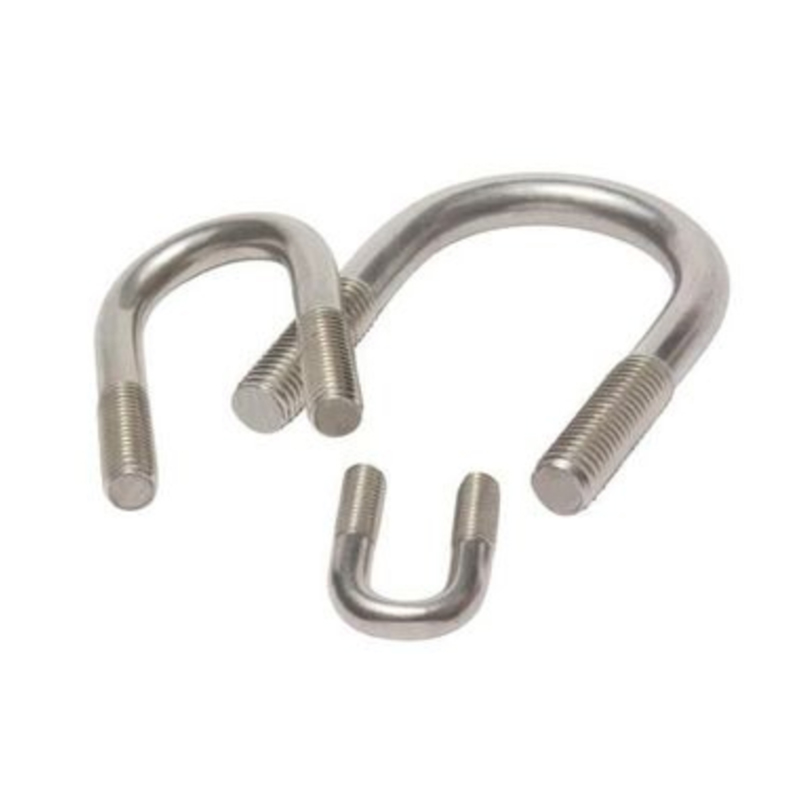
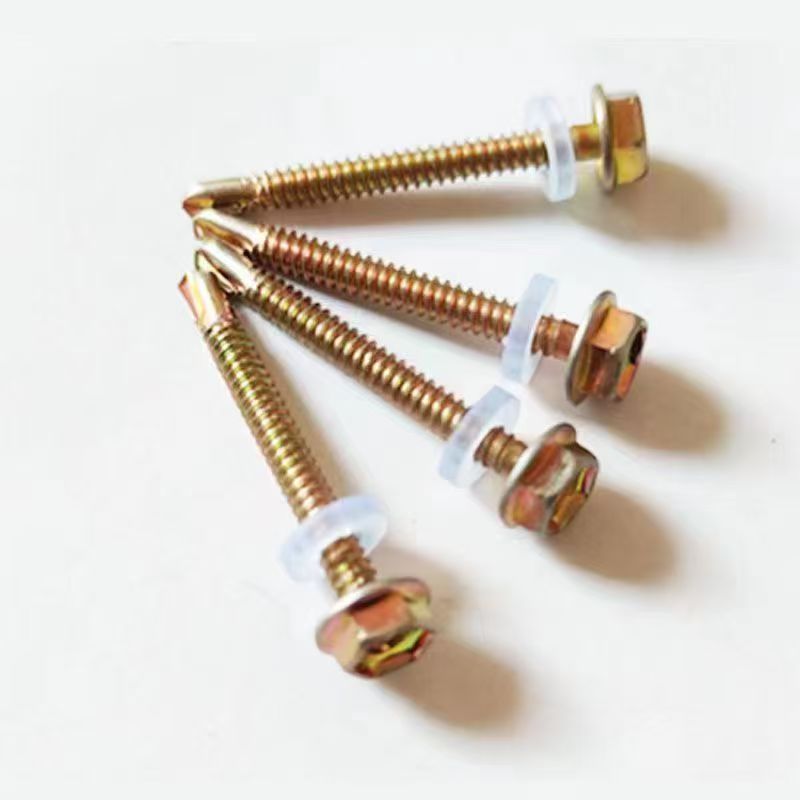
Wire rope clip
Let's talk about wire rope clips. So many people, even some with years on site, think it's just a U-bolt, a saddle, and two nuts. Slap it on, crank it down, job done. That's where the trouble starts. The real nuance isn't in the basic assembly—it's in the selection, orientation, and the often-ignored final torque check. I've seen more rigging plans fail at the clip connection than at the rope itself, usually because someone treated it as a commodity item rather than a precision component.
The Anatomy of a Proper Installation
First rule: the saddle goes on the live end. Always. It seems straightforward, but under a rigging loft in poor light, with the rope coming from an awkward angle, it's easy to get turned around. I've done it myself early on. Putting the U-bolt on the live end crushes and distorts the rope strands, creating a massive point of weakness. The saddle is designed to cradle and protect the load-bearing section. If you see a clip installed backwards, that's a red flag for the entire lift.
Then there's spacing. The old six times the rope diameter rule for clip-to-clip distance is a good start, but it's not gospel. On a heavily loaded, static line, you might get away with it. For a line that sees vibration or dynamic loading—think crane hoist lines or sailboat rigging—I prefer to tighten that up a bit. The goal is to create a uniform clamping force over a sufficient length of rope to prevent any slippage. Too far apart, and the rope can neck between the clips under tension.
Torque is the silent killer. Most clips, like those from reputable manufacturers, come with a recommended torque value. It's not a suggestion. Under-torquing means the clip isn't fully engaged, and the rope can slip. Over-torquing, especially with a pneumatic gun, can strip threads or, worse, over-compress the rope and fracture the wires inside. I always use a calibrated torque wrench for the final pass, and I re-check after the initial load is applied. The nuts will often need a slight re-torque after the rope beds into the saddle.
Material and Manufacturing Nuances
Not all forged steel is equal. The grade matters immensely. A generic wire rope clip from an unknown source might be made from a lower-grade carbon steel with poor ductility. Under shock load, it could brittle fracture instead of deforming. I look for clips that are hot-dip galvanized after forging, not just plated. The zinc penetration into the material provides far better corrosion resistance, which is critical for marine or outdoor industrial applications where rust can hide catastrophic cracks.
This is where sourcing from a specialized production base makes a difference. Take a company like Boitin Zitai Fatene Fale gaosi co., LTD.. They're situated in Yongnian District, Handan, which is essentially the epicenter of fastener production in China. Being in that ecosystem means they have access to consistent raw material streams and specialized forging and heat-treating facilities that a general-purpose machine shop won't. Their location near major transport routes like the Beijing-Guangzhou Railway and National Highway 107 isn't just a sales point—it translates to logistical reliability for getting consistent product. You can check their specific specs at HTTPS://www.zitiiiisters.com. For a component like this, the supply chain pedigree is part of the quality assurance.
The finish on the saddle's inner radius is a detail most miss. It should be smooth, with no forging flash or sharp edges. A rough surface acts like a file under cyclic load, slowly grinding away at the wire rope. I've taken a magnifying glass to samples before bulk ordering. It sounds excessive, but a poorly finished saddle will show premature wear on the rope, compromising the entire assembly's lifespan.
Application-Specific Judgement Calls
You can't use the same clip setup for a permanent guy-wire on a tower and for a temporary recovery strap on a vehicle. For permanent installations, I advocate for at least one extra clip beyond the manufacturer's minimum recommendation. It's cheap insurance. Also, the use of a thimble in the eye is non-negotiable; it maintains the rope's radius and gives the saddle a proper surface to bear against.
For temporary lifting, the calculus changes. Here, ease of inspection and installation speed are factors. Drop-forged clips are the only choice here—the stamped steel variety are for light duty, non-critical applications like fencing. I once saw a crew use stamped clips on a temporary gin pole setup. During the lift, one of the clips simply straightened out. The failure wasn't dramatic; it was a slow, terrifying creep. Luckily, the load was caught. The lesson was that the temporary nature of the application doesn't reduce the criticality of the component.
Another judgement area is on wire rope laid around a shackle or pin. You must ensure the clip saddle is bearing on the rope, not bridging the gap between the rope and the shackle body. If it's bridging, the clamping force is ineffective. Sometimes you need to reposition the entire eye or use a different-sized shackle to get a proper fit. This is the kind of on-the-spot problem-solving that you only learn by doing it wrong once.
The Critical Post-Installation Ritual
Installation isn't the end. The first load application is part of the process. After applying a load equivalent to the working load limit (never proof load the clip assembly alone!), the rig must be slackened and every single nut re-checked for torque. You will almost always find one that has loosened slightly as the rope wires compressed and seated. Skipping this step is like not bleeding brakes after changing a caliper.
Paint is a contentious topic. Some specs call for painting the assembled clips to match the structure. I'm wary of this. Paint can hide cracks, corrosion, and it can fill the gap between the saddle and the rope, making future inspection impossible. If painting is mandatory, I insist on a meticulous masking of all critical surfaces and threads beforehand. Better yet, use a clip with a corrosion-resistant finish from the start and avoid paint altogether.
Finally, documentation. For any critical lift, I take a close-up photo of the wire rope clip assembly after final torque and after the first load cycle. It goes into the job file. It's a CYA move, sure, but it also creates a visual record of what correct looked like at the moment of installation, which is invaluable for later comparison during routine inspections.
When Things Go Wrong: The Failure Modes
Slippage is the most common failure, and it's almost always an installation error: wrong orientation, insufficient torque, or not enough clips. The rope will show polished, burnished strands where it slid through the saddle. It's a clear tell.
Progressive failure is harder to spot. This is where a clip is slightly misaligned or over-torqued, causing localized fatigue in the rope. You'll see broken wires right at the edge of the saddle, often on the live end side. This is why you inspect not just the clip, but the rope under it during every check.
Catastrophic clip failure—the U-bolt snapping—is rare if the grade is correct. When it happens, it's usually due to a material defect, severe corrosion in the thread root (a hotspot for stress), or an impact load far beyond the design limit. I've only seen one snap, and the fracture surface showed a large inclusion in the steel—a manufacturing flaw. That's why source matters. A supplier embedded in a major production base like Boitin Zitai Fatene Fale gaosi co., LTD. typically has more robust quality control on raw material input precisely because their entire operation is geared towards fastener specialization, not just general fabrication.
I le faaiuga, o le wire rope clip is a deceptively simple device that demands respect. It's the interface between the flexible strength of the rope and the rigid point of attachment. Getting it right isn't about following a manual by rote; it's about understanding the forces at play and respecting the limits of the hardware. It's the kind of component where experience—often born from small mistakes caught in time—trumps theoretical knowledge every time.
Fesootai oloa
Fesootai oloa
Sili ona faatauina atu oloa
Sili ona faʻatau atu oloa-
 Maualuga-malosi uliuli kesi
 - O le lanu Zinc na faʻapipiʻiina o le Counters Cross Boots
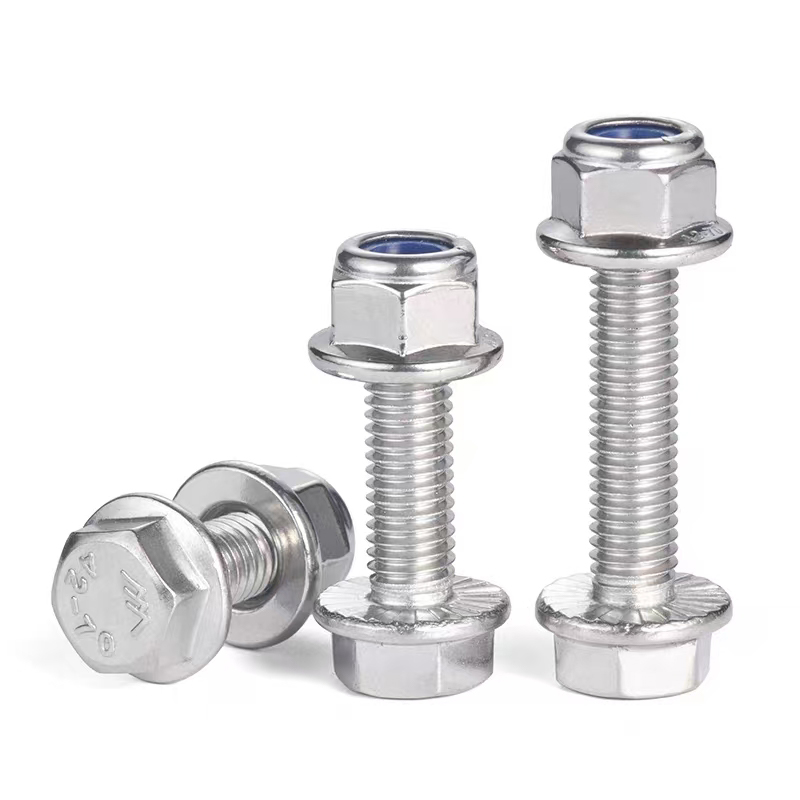
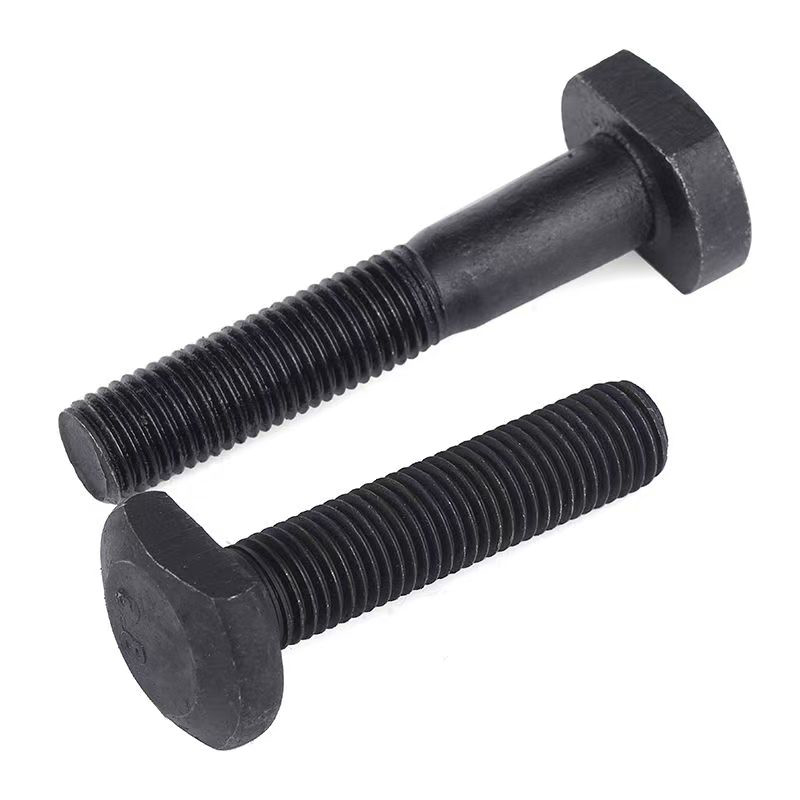
- Taavale Bolt (afa-lapotopoto ulu sikuea ofe po
- Valivali zinc-o lo o faʻapipiʻiina o le faʻaluaina o matau
- Electrogalvalvanzanzed Hinge Bolts
- Electroplated Zinc Flatle Bolts
- Maualuga-malosi uliuli uati
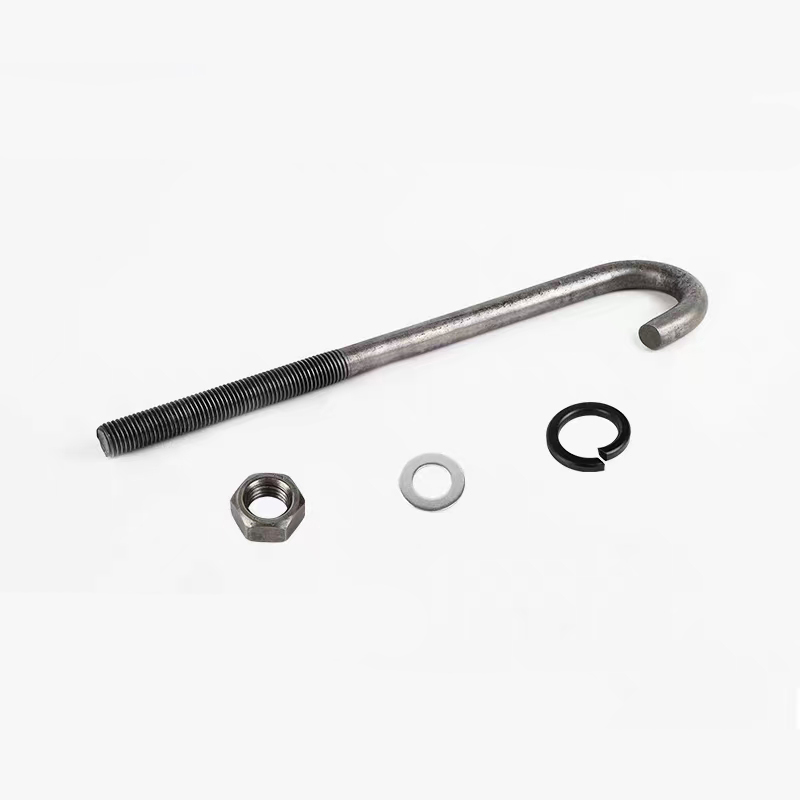
- Umbrela fetu taula (J-ituaiga taula taupulepue bol / umbze
- Black Zinc na faʻapipiʻiina clated cross bolts
- Vevela-dip garvation hexagonal bolts
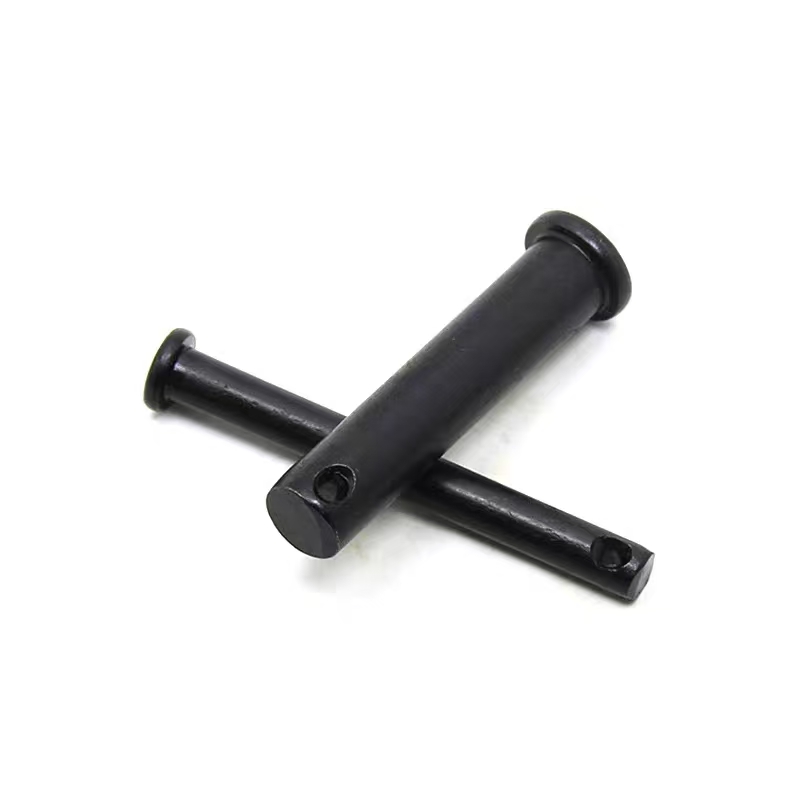
- Black Zinc Faʻapipiʻi Pin Shaft
- T-bolt (t-slot bolt)